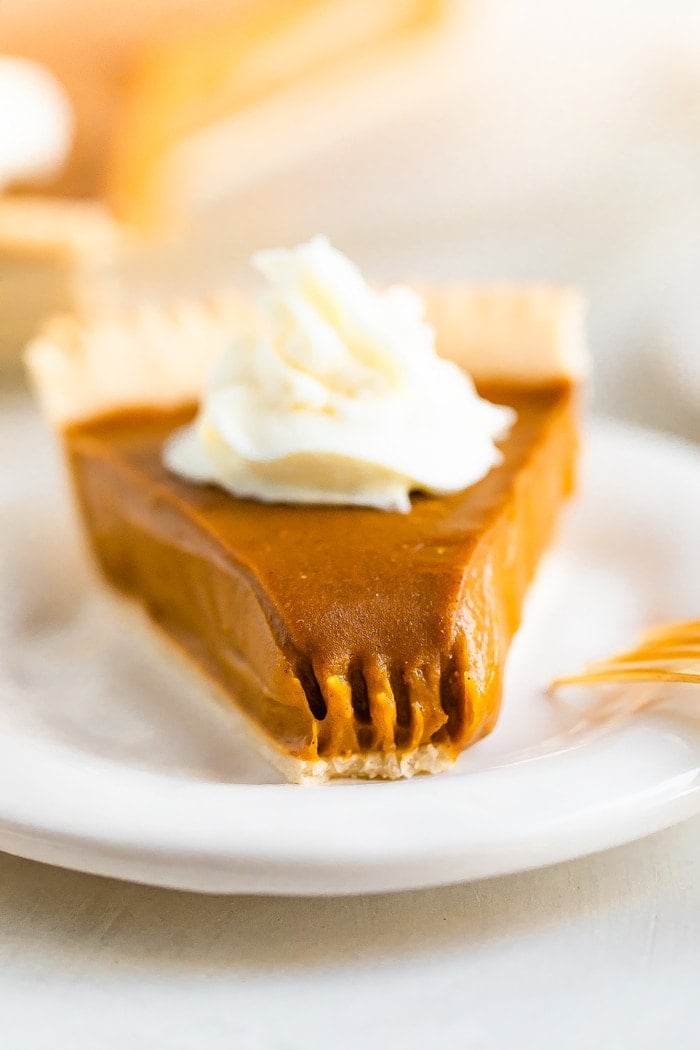
Healthy Sweet Potato Pie
This easy and healthy sweet potato pie is made with coconut sugar, coconut cream and fresh sweet potatoes. It’s dairy-free, vegan and can easily be made gluten-free as well.
I don’t think you guys are mentally prepared for this recipe! It is SO good I ate it for breakfast the morning after recipe testing. Oops!
My first experience with sweet potato pie was a few years ago when a friend brought his mom’s sweet potato pie to our Friendsgiving celebration. One bite and I was hooked. I’ve always loved pumpkin pie, but if you were to make me choose between pumpkin and sweet potato pie today, I’d pick sweet potato. With sweet potato pie, the filling has more texture and tastes a bit sweeter too, which makes sense given that pumpkin is a bit more watery and bland tasting, in my opinion.
Sweet Potato Pie’s Roots
Sweet potato pie is a holiday staple in African-American and Southern homes. This stems from sweet potatoes and yams being major crops in the South and common go-to options for slaves when preparing food (for themselves and the white families they served). The filling consists of mashed sweet potatoes, evaporated milk, sugar, spices (like nutmeg) and eggs. The texture can be silky smooth or dense, it just depends on the recipe.
Since I adore the sweet potato pie that my friend’s mom makes, I decided it would be fun to try my hand at a vegan version with coconut cream and coconut sugar. After a couple test batches, I landed on this recipe and I have to say, it’s pretty darn good! I need to make one for my friend’s mom to see what she thinks of it. 
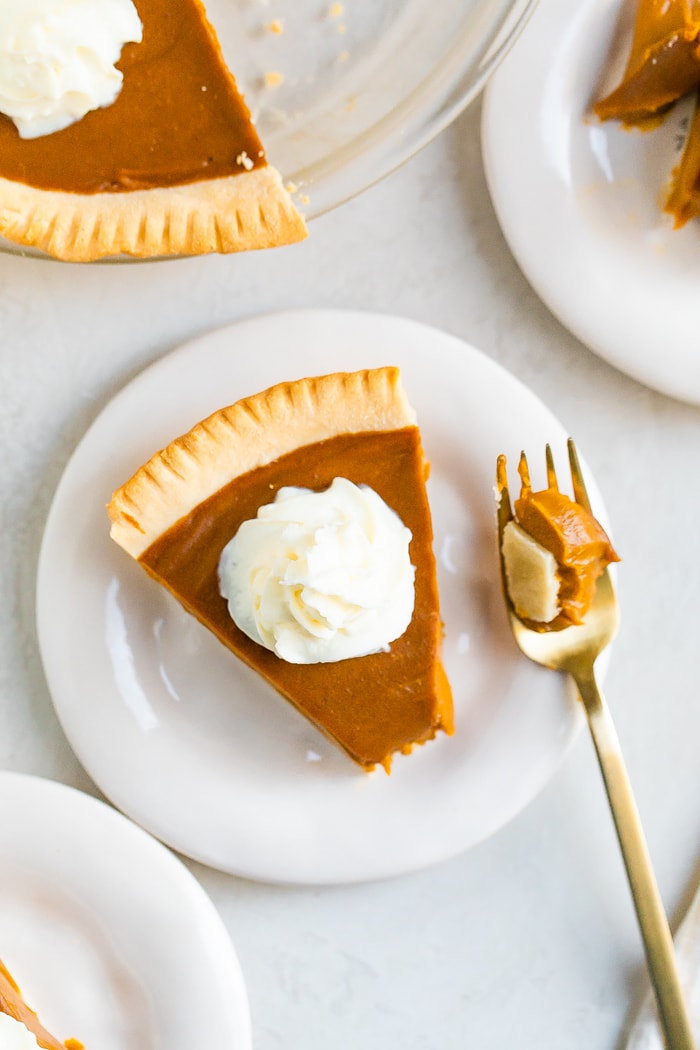
The best part about this pie? It’s crazy simple to make, especially if you use a store-bought pie shell! Once you’ve baked your sweet potatoes, the filling takes no time at all to prepare.
Easy Sweet Potato Pie Ingredients
- mashed sweet potatoes – I baked two large sweet potatoes and mashed the flesh. You can also boil the potatoes, if needed.
- coconut sugar – I chose coconut sugar because it’s similar in flavor to brown sugar, but a bit less refined. I haven’t tried this recipe with any other natural sweeteners so I’m not sure how it will work with maple syrup or honey.
- canned coconut cream – make sure you look for coconut cream specifically! It’s thicker than full-fat coconut milk.
- vanilla
- cinnamon
- nutmeg
- cornstarch
- salt
- unbaked 9″ pie shell – I like using Wholly Wholesome organic pie shells, which are vegan. They also make a gluten-free version if needed! You can also skip the shell and make this a crustless pie if you want! The filling is so good on it’s own. Of course, you can also make your own pie crust if you’d like!
Buying & Storing Sweet Potatoes
When shopping for sweet potatoes, look for firm, unwrinkled skins. Sweet potatoes come in all different colors – creamy white, deep orange and purple. I usually buy the orange or cream ones most often just because that’s what is typically available at my local store. The orange sweet potatoes are usually sweeter than the cream sweet potatoes. Store you sweet potatoes in your pantry or on the counter top at room temperature. They’ll last about a week before they start to go bad (which usually means getting wrinkly and softer).
4 Ways to Cook Sweet Potatoes Before Mashing
- Bake – Pierce the sweet potatoes 3-4 times with a fork and place them on a baking sheet and bake at 400ºF for about 45-65 minutes, depending on the size.
- Boil – Peel and cube the sweet potatoes and place them in a large saucepan and add water to cover the potatoes. Bring to a boil, reduce heat and cook, uncovered until tender. It should take about 15 minutes depending on the size.
- Microwave – Pierce the sweet potatoes 3-4 times with a fork. Place potatoes in a microwave-safe dish and microwave on high for five minutes, flipping halfway through. If your potatoes aren’t tender after 5 minutes, microwave for 30 second increments until softened. I personally don’t recommend this method because microwaved sweet potatoes don’t taste great, in my opinion.
- Instant Pot – Add one cup of water to the bottom of your Instant Pot. Place the trivet on top and then the sweet potatoes on the trivet. Cook for 18 minutes on high pressure (for medium-sized potatoes), let steam naturally release for 10 minutes and then quick release any remaining pressure.
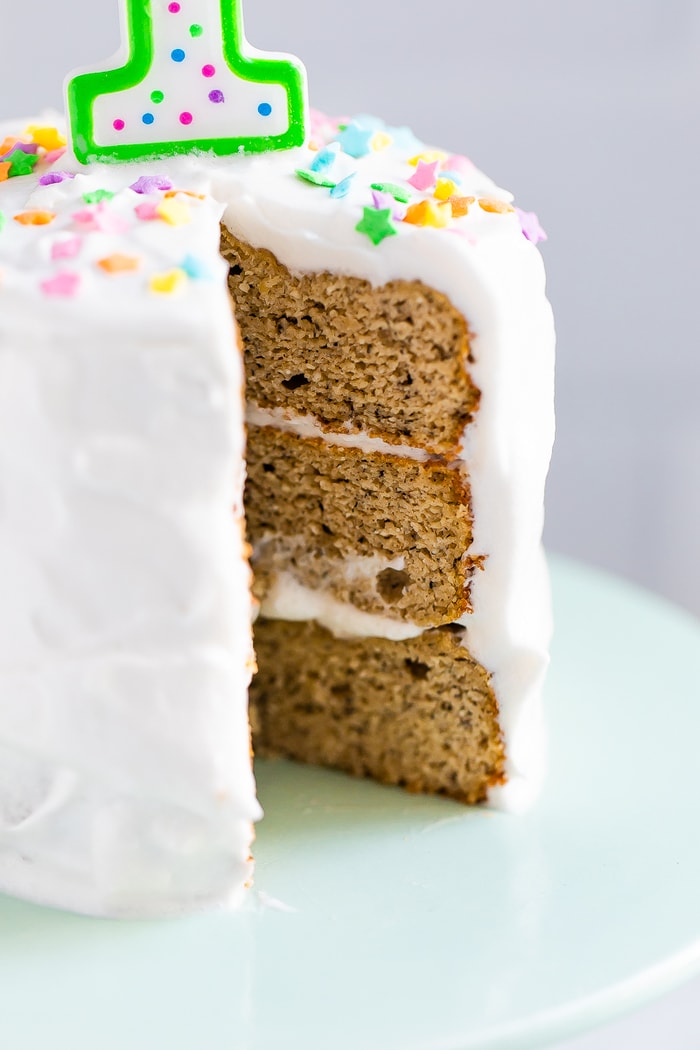
How to Make a Vegan Sweet Potato Pie
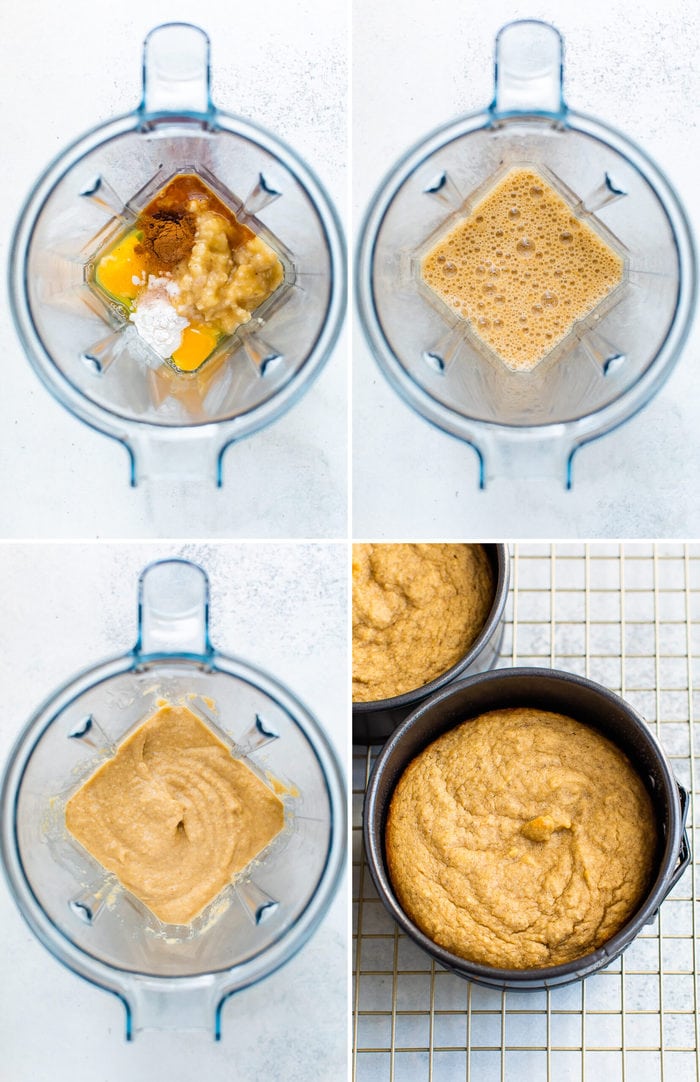
Mash – If you haven’t already, mash your cooked sweet potatoes. I like to leave some chunks for texture!
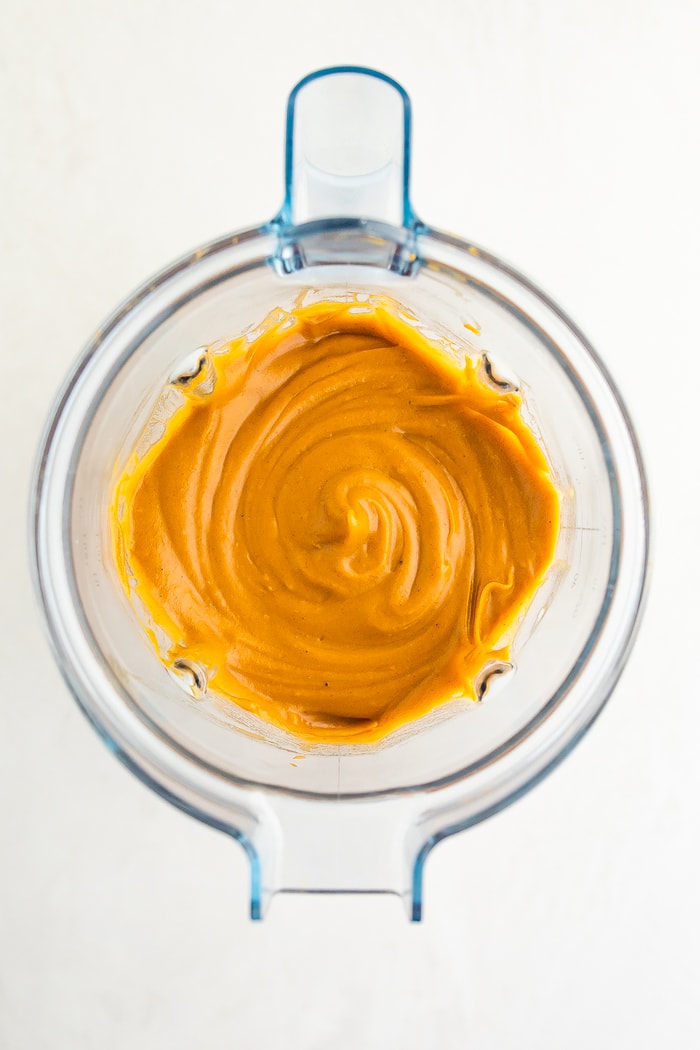
Mix – Add the mashed sweet potatoes, coconut sugar, canned coconut cream, vanilla, cinnamon, nutmeg, cornstarch and salt to a stand mixer, blender or food processor and combine until smooth. I combined everything in my Vitamix.
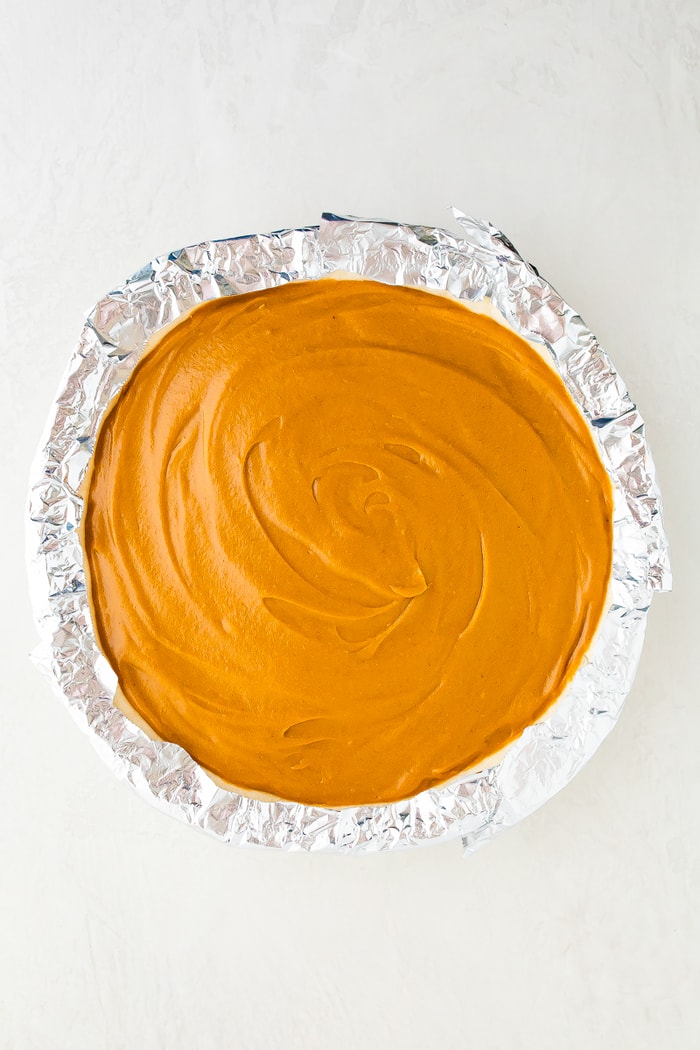
Fill pie shell – If using a pie shell, make sure to pre-bake it according to package/recipe instructions. Pour the filling into the pre-baked pie shell and use a spatula or spoon to smooth out the top. If you’re not using a shell, pour the filling into a greased pie tin.
Bake – Bake at 350ºF for 25-30 minutes.
Cool + chill – Allow the pie to cool and then transfer to the fridge to set up and chill before slicing and serving, for at least 8 hours, preferably overnight.
Love Sweet Potato? Try These Recipes:
If you try this recipe for easy sweet potato pie please be sure to leave a comment and star rating below. Your feedback is super helpful for the EBF team and other readers who are thinking about making the recipe.
Print
Description
This easy and healthy sweet potato pie is made with coconut sugar, coconut cream and fresh sweet potatoes. It’s dairy-free, vegan and can easily be made gluten-free as well.
Ingredients
- 2–3 medium/large sweet potatoes, scrubbed and washed
- 3/4 cup coconut sugar
- 1 cup canned coconut cream
- 1 teaspoon vanilla
- 1 1/4 teaspoon cinnamon
- 1/4 teaspoon nutmeg
- 2 1/2 Tablespoons cornstarch
- 1/4 teaspoon salt
- 1 unbaked 9″ pie crust (use store-bought or make your own)
- coconut whipped cream, for topping
- Bake sweet potatoes: Heat oven to 400°F. Pierce sweet potatoes with a fork several times and place sweet potatoes on baking sheet. Roast 45 minutes or until tender. Let cool and remove skin from the sweet potatoes and discard. Place flesh into medium bowl, mash with a fork and measure 3 cups. Save any extra for another use.
- Meanwhile, place pie crust in a 9″ inch pie pan and pre-bake according to package/recipe instructions.
- Reduce oven temperature to 350°F.
- Combine filling ingredients: you can do this in a stand mixer using the flat beater or in a high powered blender or food processor. If the volume is too much for your blender, you can blend the sweet potato in batches, transfer to a bowl and then mix in the rest of the filling ingredients. I combined everything in my Vitamix.
- Transfer filling into the baked pie shell. Cover the crust with aluminum foil or use pie protectors to keep the edges of the crust from getting too brown.
- Bake: Bake at 350°F for 25 to 30 minutes or until pie has set.
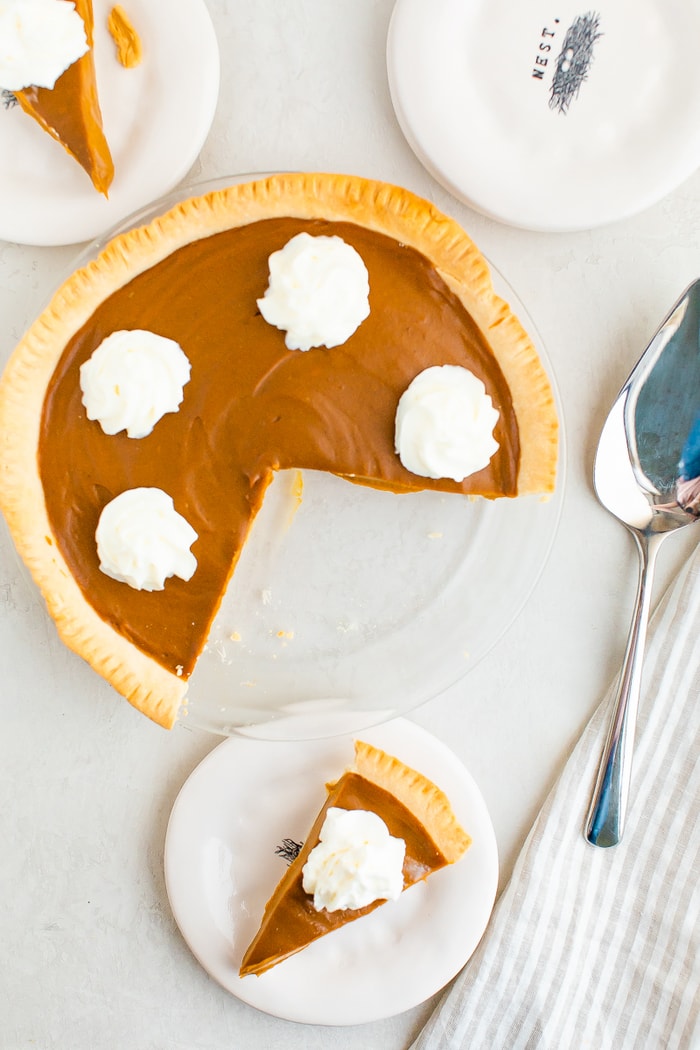
- Cool + Chill: Allow to cool and then transfer to the fridge to set up and chill for at least 8 hours, preferably overnight. Serve chilled with whipped topping.
Notes
- You can also boil the sweet potatoes if you prefer. To do so, peel and cube sweet potatoes. Place in a large saucepan; add water to cover. Bring to a boil. Reduce heat; cook, uncovered, until tender, 15 minutes, depending on size. Drain potatoes, mash until smooth and measure 3 cups for the recipe.
 Category: Dessert
 Method: Bake
 Cuisine: American
Nutrition
- Serving Size: 1 slice without whipped cream
- Calories: 313
- Sugar: 25g
- Sodium: 185mg
- Fat: 13g
- Saturated Fat: 3g
- Unsaturated Fat: 0g
- Trans Fat: 0g
- Carbohydrates: 50g
- Fiber: 2g
- Protein: 3g
- Cholesterol: 5mg
The post Healthy Sweet Potato Pie appeared first on Eating Bird Food.
Eating Bird Food